Do you want to know how to configure your WordPress website with Google Search Console? Making sure Google sees your website and shows it in search results is the first step to driving traffic to your site, boosting conversions, and growing your business. After all, if Google doesn’t know your site exists, no one else will either.
In this article, we’ll show you how to add your website to Search Console so you can monitor your site’s presence in Google search results.
What Is Google Search Console?
Google Search Console, which used to be known as “Google Webmaster Tools,” is a free service available to all website owners.
It shows you how Google indexes and adds your website to Google search results, so you can make sure the right people are seeing your site.
With Search Console, you can also:
- Submit new content for indexing, and even add a sitemap
- Delete or hide content from Google so it doesn’t appear in search results
- Find and fix common malware and spam issues
- See which search queries cause your site to appear in search results
- Find out which queries drive the most traffic to your site
- See what other sites are linking to your site
- Find out if your mobile site is driving traffic to your site
In other words, Google Search Console is just another helpful tool for that gives you information about your website and the people visiting it.
Set up Google Search Console
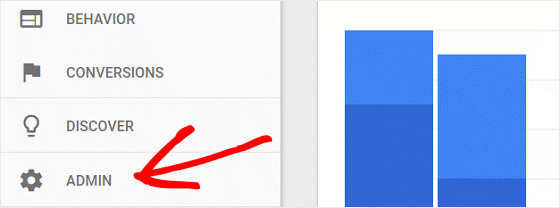
To set up Google Search Console in Google Analytics, log in to your Google Analytics account and click the Admin tab on the bottom left-hand side.
Under the Property column, click Property Settings.

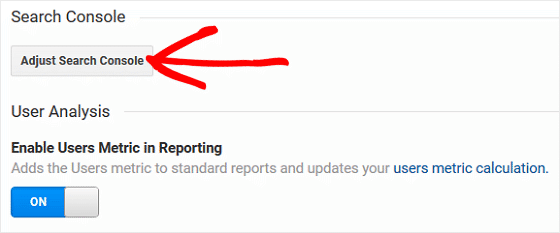
Next, scroll down to the bottom of the screen and click on the Adjust Search Console button.
On the next screen, click Add.

You will then see a screen that shows all of your websites. Select the one you want to add and click the Save button.
Now you’ll need to verify the website you’ve added to Google Search Console in Google Analytics.
Verify Your Search Console Website
Before you can see you site’s Search Console data, you need to prove to Google that you’re the owner of your website.
To start, go to Google Search Console, sign into your Google Analytics account, and click the red Add a Property button.

Add the exact URL of the website you added to Search Console and click Add.

Under the Recommended method tab, click Verfiy.
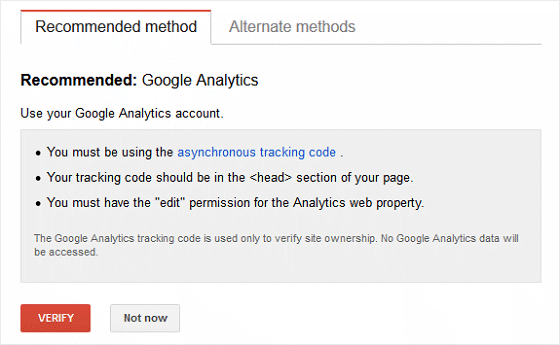
You’ll see a success message once the verification goes through.
And that’s it! Your website is now connected to Google Search Console. You can now begin viewing Search Console data.
View Google Search Console Data
To view your Search Console data in your Google Analytics account, go to Acquisition » Search Console.
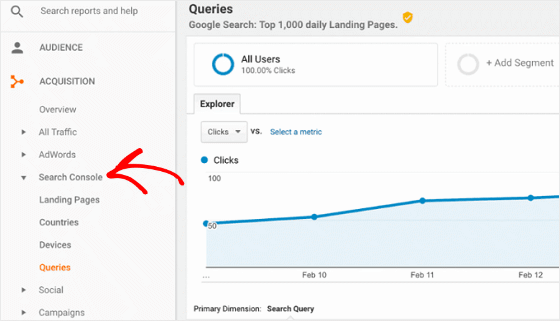
Here you can check data related to:
- Landing Pages
- Countries
- Devices
- Queries
You can also log into your Search Console account here, and see things like:
- How your site appears in Google search results
- Links to your site and internal links
- Your index status
- Crawl errors
- And much more
Lastly, you can use the MonsterInsights plugin to view your Search Console Report right from your WordPress dashboard.
Start by going to Insights » Reports. From there, click on the Search Console tab.
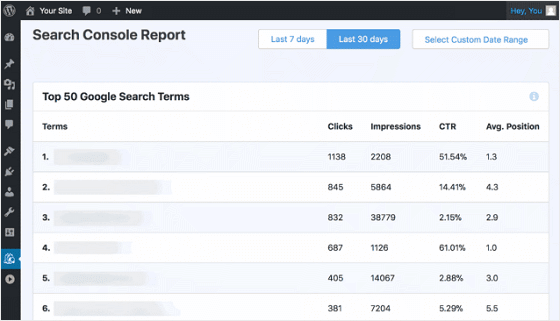
Here you’ll see your website’s top search terms. Next to each term, you’ll see the following:
- Clicks
- Impressions
- Click-Through Rate
- Average Position
This gives you a good idea of the keywords that are bringing people to your website and whether people are finding what they’re looking for once on your site.
It also shows you the position your keywords are ranking for in Google, which is the whole point of focusing on SEO.
And there you have it! An easy way to configure your WordPress website with Google Search Console so you can make sure your site is not only showing up in Google search results, but is showing up in the right places.
No comments:
Post a Comment